In the world of filmmaking, the art of cutting is crucial to storytelling. Film cuts are more than just transitions between scenes they are powerful tools that shape the narrative, evoke emotions, and maintain the rhythm of the film. Understanding the different types of cuts and how to use them effectively can elevate your film from ordinary to extraordinary.
Lucky there’s a family guy, lucky there’s a man who positively can do all the things that make us laugh and cry – he’s our family guy!
Steve Jobs
The Importance of Film Cuts
Cuts in film are essentially edits that join two shots together. While this may seem straightforward, the choice of where and how to cut can drastically impact the viewer’s experience. A well-timed cut can enhance tension, create connections between scenes, and guide the audience’s emotions. Conversely, a poorly executed cut can confuse viewers, disrupt the flow of the narrative, or lessen the impact of a scene.
Film cuts are not just about moving from one shot to another; they are about how you transition and what that transition communicates. The right cut can compress time, reveal information, or juxtapose ideas to deepen the story’s meaning.
Types of Essential Film Cuts
Here are some of the most essential cuts every filmmaker should be familiar with:
- Standard Cut
- What It Is: The most basic form of cut, where one shot is simply spliced to the next. This cut is used to maintain the narrative flow, keeping the story moving forward.
- When to Use: Use standard cuts when you want to progress the story without drawing attention to the edit. It’s perfect for continuity editing, where the goal is to keep the viewer engaged without disrupting the immersion.
- Jump Cut
- What It Is: A cut that breaks continuity by jumping forward in time, often creating a jarring effect. Jump cuts can condense time or highlight the passage of time within the same scene.
- When to Use: Use jump cuts to convey urgency, disorientation, or to skip over unnecessary details. They are often used in montages or when you want to create a sense of pace or chaos.
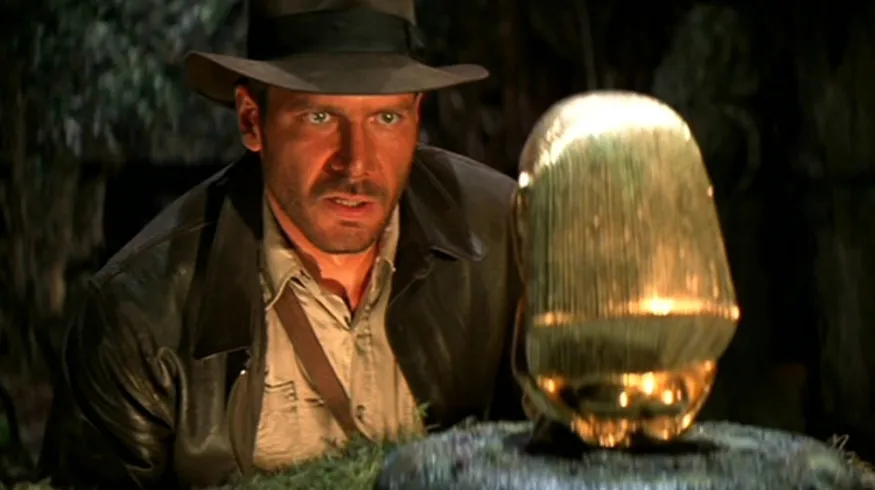
- Cutting on Action
- What It Is: A technique where the cut happens in the middle of an action, transitioning seamlessly from one shot to another. This helps maintain the flow and energy of a scene.
- When to Use: This cut is effective in action scenes or whenever you want to make a transition feel smooth and natural. It keeps the momentum of the action going, making the cut less noticeable.
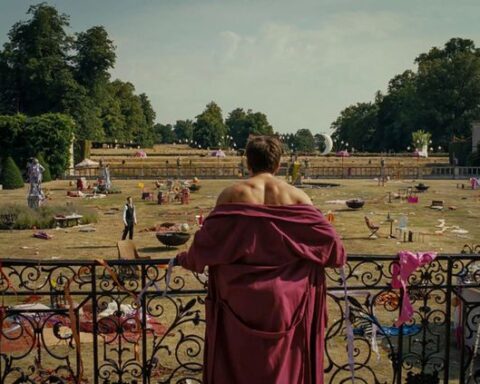
- Match Cut
- What It Is: A cut where two visually similar shots are connected, either by matching shapes, colors, or compositions. Match cuts create a visual or conceptual link between the scenes.
- When to Use: Use match cuts to draw parallels between two different scenes or ideas, to show a passage of time, or to create a symbolic connection. They are often used to enhance the storytelling by visually linking two related shots.
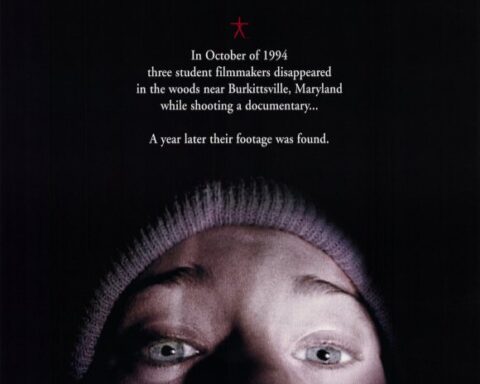
- Cross-Cutting (Parallel Editing)
- What It Is: A technique that alternates between two or more scenes happening simultaneously in different locations. It creates tension by showing parallel actions that are linked narratively.
- When to Use: Cross-cutting is ideal for building suspense or showing different storylines converging. It’s commonly used in action sequences where multiple events are happening at the same time.
- J Cut
- What It Is: A cut where the audio from the next scene begins before the visual transition occurs. The viewer hears what’s coming before they see it, creating anticipation.
- When to Use: Use J cuts to prepare the audience for a change in scene or to create a smooth auditory transition that guides the viewer into the next part of the story.
- L Cut
- What It Is: The opposite of a J cut, where the audio from the current scene continues even after the visual has transitioned to the next scene. This can create a lingering emotional effect.
- When to Use: L cuts are effective for maintaining the emotional tone of a scene or when you want to keep the audience connected to the previous moment while moving the story forward.
- Smash Cut
- What It Is: A sudden and dramatic cut that abruptly shifts from one scene to another, often with a stark contrast in tone or energy. This cut can startle the audience or create a strong impact.
- When to Use: Smash cuts are best used for dramatic effect, such as moving from a calm scene to one of sudden action or from a loud, intense moment to a quiet one. It’s a way to jolt the viewer and shift the mood rapidly.
- Montage
- What It Is: A sequence of cuts that condenses time by showing a series of brief shots that represent a progression, such as a character’s development or a journey. Montages can convey a lot of information quickly.
- When to Use: Use montages when you need to show the passage of time, development, or a series of events without lingering on each moment. They are often used to depict training sequences, preparation, or changes over time.
- Cutaway
- What It Is: A cut that moves away from the main action to show a related object, character, or scene. Cutaways provide additional context or details without interrupting the flow of the narrative.
- When to Use: Cutaways are useful for adding depth to a scene, providing exposition, or emphasizing a particular detail. They can also be used to cover up continuity errors or to build tension by showing something the characters are unaware of.
How to Use Cuts Effectively
Using these cuts effectively requires more than just knowing what they are—it requires understanding how they serve your story. Here are some tips to keep in mind when applying different cuts:
- Align with the Narrative
- Every cut should serve the story. Whether it’s building suspense, conveying a character’s emotions, or moving the plot forward, the type of cut you choose should align with the narrative purpose.
- Match the Tone
- The cut should match the tone of the scene. A slow, deliberate cut might be appropriate for a dramatic moment, while a fast, jarring cut could enhance the intensity of an action scene.
- Maintain Rhythm
- Rhythm in editing is crucial. The pacing of your cuts should create a rhythm that complements the mood of the scene. Too many rapid cuts can overwhelm the audience, while too few can make the scene drag.
- Guide the Audience
- Use cuts to guide the audience’s focus. A well-placed cut can direct attention to important details, emphasize certain emotions, or shift the viewer’s perspective.
- Experiment with Expectations
- Don’t be afraid to subvert expectations. Unexpected cuts, like a smash cut or a jump cut, can surprise the audience and keep them engaged. Just be sure that these cuts serve a clear purpose and don’t confuse the narrative.
Conclusion: The Power of the Cut
In filmmaking, cuts are more than just transitions; they are powerful tools that shape the way your story is experienced. By understanding and mastering different types of cuts, you can enhance your film’s narrative, evoke emotions, and create a memorable viewing experience. Whether you’re aiming to maintain seamless continuity or to shock and surprise, the right cut at the right moment can make all the difference in how your story resonates with the audience.
Mastering the art of cutting is essential for any filmmaker looking to craft a compelling, dynamic, and engaging film.